Why Developers Use ORMs (i.e. their Strengths)
This is the third and final part of a lighting talk I’m giving at the SQL Saturday Edmonton Speaker Idol Contest. Imagine I’m actually speaking the words below and showing some of the images on slides and/or doing a demo.
If you don’t want to read Part 1 or Part 2 the basically give an example of a developer using ORM, panic over indexes, and then show more ORM examples. I don’t think it will all fit in a 15 minute talk.
This is a rough draft so constructive feedback at chris.cumming@saturdaymp.com is much appreciated.
The first obvious reason developers use a ORM is it lets them create an application knowing little to no SQL. A developer without SQL training can use the ORM to help them generate the database and write queries for them. The DDL and SQL queries created by the ORM is probably just as good or better then what a novice SQL developer could write.
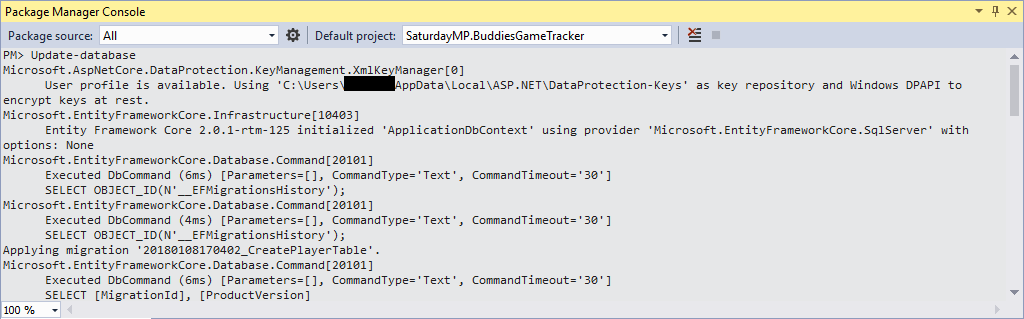
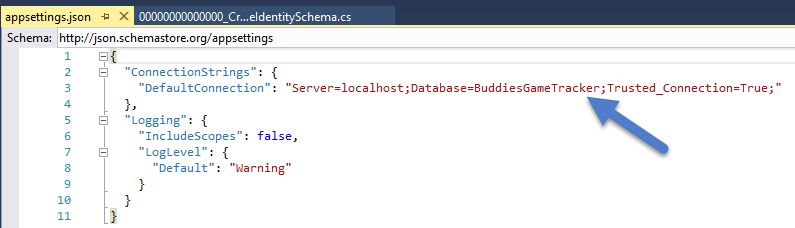
ORMs also write a lot of the repetitive SQL for the developer. You know, the SQL for find a certain piece of data like a user or inventory item. The SQL to update that piece of data or create it if it does not exist. The boring repetitive CRUD SQL statements. Without an ORM developers used to have write ADO.NET code which looked like:
using (SqlConnection conn = new SqlConnection(connString))
{
  // Query to load all the information about a customer.
  // province.  Hopefully there are no typos in the SQL.
  // Use parameters so we don't have
  // SQL injection issues.
  var cmd = new SqlCommand("
    Select c.*, a.*, p.Abbreviation
    From Customers c
    Inner Join on Addresses a
    Inner Join on Provinces p
    Where c.Id = @CustomerId"
    And a.AddressType = @HomeAddressType
  );
  cmd.Parameters.AddWithValue("@CustomerId", customerId);
  cmd.Parameters.AddWithValue("@HomeAddressType", HOME_ADDRESS_TYPE);

  // The adapter to read the data from the database.
  var dataAdapater = new SqlDataAdapter(cmd, conn);

  // The dataset to fill with data.
  // I think in .NET Core 2 you can create a DataTable
  // instead of always using a DataSet.  If true that would
  // have been great 20 years ago.
  var dataSet = new DataSet();
  dataSet.Tables.Add();

  // Read the data and fill the dataset.
  dataAdapter.Fill(dataset.Tables[0]);
} // Connection to database is closed.

// Show the data in the type unsafe dataset. Hope
// you don't have a typo in the column names and
// you correctly handle database nulls (not shown).
Console.WriteLine{$"Name: {drow["Name"]}
  Street: {drow["StreetAddress"]}
  City: {drow["City"]}
  Province: {drow["Abbreviation"]});
Actually, I’ll tell you DBAs a secret. Back in the ADO.NET days no developer ever wrote all the code in the first example. Instead we usually created our own custom code library that handled all the work to fill a DataSet with data. The problem is every development shop had it’s own custom data access library with their own features and/or bugs. But still, it was ugly code to write and would often break if the underlying database changed even a bit.
Using Entity Framework, Microsoft’s ORM, the above code looks like:
using (var ctx = new MyDbContext)
{
  // No need to worry about typos.  If Customers
  // is misspelled then a compile error will occur.
  // Also no need to worry about SQL injection.
  var customerToView = ctx.Customers
    .Include(customer => customer.Address)
    .ThenInclude(address => address.Province)
    .Where(customer => customer.Id.Equals("Id"))
    .ToList();
} // Connection to database is closed.

Console.WriteLine($"Name: {customerToView.Name}
  Street: {customerToView.Address.StreetAddress}
  City: {customerToView.Address.City}
  Province: {customerToView.Address.Province.Abbreviation});
Wow, that is a lot less code and much easier to read. The developer still needs to understand a bit of the underlying database structure but a lot of the grunt work is taken care of.
Finally the biggest strength of a ORM is abstraction of data access. It lets developers focus on the business logic and GUI of the application. Data access is this magic thing that just happens.
Actually that’s not 100% true. Like all abstractions ORMs leak so the developer has to know something about the underlying database but for those brief few moments the developer has one less thing to think about. As Sherlock Holmes put it so eloquently said about developers:
“I consider that a man’s developer’s brain originally is like a little empty attic, and you have to stock it with such furniture as you choose. A fool takes in all the lumber of every sort that he comes across, so that the knowledge which might be useful to him gets crowded out, or at best is jumbled up with a lot of other things, so that he has a difficulty in laying his hands upon it. Now the skillful workman developer is very careful indeed as to what he takes into his brain-attic. He will have nothing but the tools which may help him in doing his work, but of these he has a large assortment, and all in the most perfect order. It is a mistake to think that this little room has elastic walls and can distend to any extent. Depend upon it, there comes a time when for any addition of knowledge, you forget something, that you knew before. It is of the highest importance, therefore, not to have useless facts elbowing out the useful ones.”
“But the Solar System Database!” [Watson] I protested.
“What the deuce is it to me?” he interrupted impatiently: “you say that we go around the sun store data in a database. If we went round the moon stored the data on a stone tablet it would not make a pennyworth of difference to me or to my work”.
Good developers are good at using abstractions. They create abstractions in code through functions, classes. and layers such as the GUI layer, business layer, etc. An abstraction lets them to temporarily “forget” about the rest of the application and focus on the part they are working on.
Why DBAs Dislike ORMs (i.e. their Weaknesses)
Not only do good developers lover abstractions but they also understand their weaknesses. Bad developers don’t understand that abstractions can have weaknesses. Remember Uncle Ben’s famous words:
With great power abstractions comes great responsibility.
The most common mistake beginner ORM developers make is too turn on lazy loading and then do a loop. The famous n+1 select problem.
using (var ctx = new MyDbContext)
  // Load all the customers
  // Select * From Customers;
  customers = ctx.Customers.ToList();

  // Print each customers city.
  foreach (var customer in customers)
  {
    Console.Writeline(customer.Name);

    // Select * From Addresses where CustomerId = ?
    Console.Writeline(customer.Address.City);
  }
}
The above code will send one query to get all the customers then send a separate query to get the address information. If would look like:
Select * From Customers;

Select * From Address Where CustomerId = 1
Select * From Address Where CustomerId = 2
Select * From Address Where CustomerId = 3
Select * From Address Where CustomerId = 4
Select * From Address Where CustomerId = 5
...
This works great in test when there are only a couple of records but grinds to a halt in production. Any DBAs seen something similar?
Bad, or I guess naive is better word, developers like lazy loading because the data just “magically” appears. Good developers turn off lazy loading and write their code to only send one query.
using (var ctx = new MyDbContext)
{
  // Get all the customers and their addresses
  // in one query.
  // Select * From Customers c
  // Inner Join Addresses a On c.Id = a.CustomerId
  var customers = ctx.Customers
    .Include(customer => customer.Address)
    .ToList();
}

// Print each customers city.
foreach (var customer in customers) {
  Console.Writeline(customer.Name);

  // No query, data is already in memory.
  Console.Writeline(customer.Address.City);
}
Another common mistake when using ORMs is pulling back unnecessary data. In the above example we only want the customer name and city but the generated query pulls back all the customer and address columns. ORMs are great when you need all or most of the columns in a table but are not as useful when you only need one or two columns.
We can re-write the above to only bring back the columns we are interested in:
using (var ctx = new MyDbContext)
{
  // Get all the customers and their addresses
  // in one query.
  // Select c.Name, a.City From Customers c
  // Inner Join Addresses a On c.Id = a.CustomerId
  var customerCities = ctx.Customers
    .Include(customer => customer.Address)
    .Select(c => c.Name, c.Address.City)
    .ToList();
}

// Print each customers city.  Notice the
// data is flattened.
foreach (var custCity in customerCities ) {
 Console.Writeline(customer.Name);
 Console.Writeline(custCity.City);
}
Another big weakness of ORMs is complex queries. ORMs really don’t handle joining lots of tables together or trying to have a complicated where and/or grouping. These are best handled by writing SQL. Needless to say reports should never use an ORM. Instead use SQL or better yet a tool that helps you create reports.
The final weakness of ORMs is they don’t work well with stored procedures and views. This can really be a problem is you are a DBA that likes all data access to go through views or stored procedures. ORMs can also be a problem if you us a lot functions but that is usually less of an issue.
It’s not that ORMs can’t handle views or stored procedures it’s just not their strength. The ORM abstraction works best if tables can be mapped to classes and fields to properties. I once saw a project that used an ORM but had to access all the data via stored procedures and it was not pretty. It was like the data access code fell from the top of the ugly tree and hit every branch on the way down.
How DBAs and ORMs can Work Together
I recently heard a good quote from the Supergirl TV show which I think is appropriate:
GIF

The quote probably didn’t originate from Supergirl but you get the idea. Good teams have empathy for each other and hopefully this talk has increased your empathy for developers by showing you why they use ORMs.
Hopefully developers have empathy for you as well. A good developer respects that the DBA is the guardian of the data. It’s your job to make sure the data is accurate and readily available. Developers often focus on how their application uses the data and forgets other applications might have different data access requirements.
Assuming you are working with a good developer keep the following in mind:
- Let the ORM generate schema changes but make sure to review them. The developer might not realize that renaming the column caused the column to be dropped and recreated resulting in data loss.
- Let the ORM access the tables directly. Only force access threw a view or stored procedure if there is a good reason.
- Don’t be afraid to adapt the ORM’s naming schema. An ORM will often assume things like ID is the primary key column, table names are plural, foreign keys are <tablename>ID, etc. If you can’t adopt the ORM’s preferred naming scheme then at least be consistent in your naming.
- Don’t worry about being made redundant. ORMs can do some of the work DBAs used to do but not all of it and as we pointed out above ORM generated SQL should still be reviewed. Also ORMs can’t do the A part of DBA (i.e. they don’t backup your database, secure it, create RAID arrays, etc).
- If you work with bad developers try to educate them. They might just be naive. If you can’t educate the developers and management won’t help you don’t be afraid to move on. Life is too short to…<fill in the blank>.
Remember “Teamwork makes the dream work”.
Now that all three parts are written it looks longer then 15 minutes. To find out what gets cut, changed, and added you will need to attend the SQL Saturday Edmonton Speaker Idol Contest. Or just wait till I post the slides online.
As I said above, this is a rough draft so constructive feedback at chris.cumming@saturdaymp.com is much appreciated. Thank you.

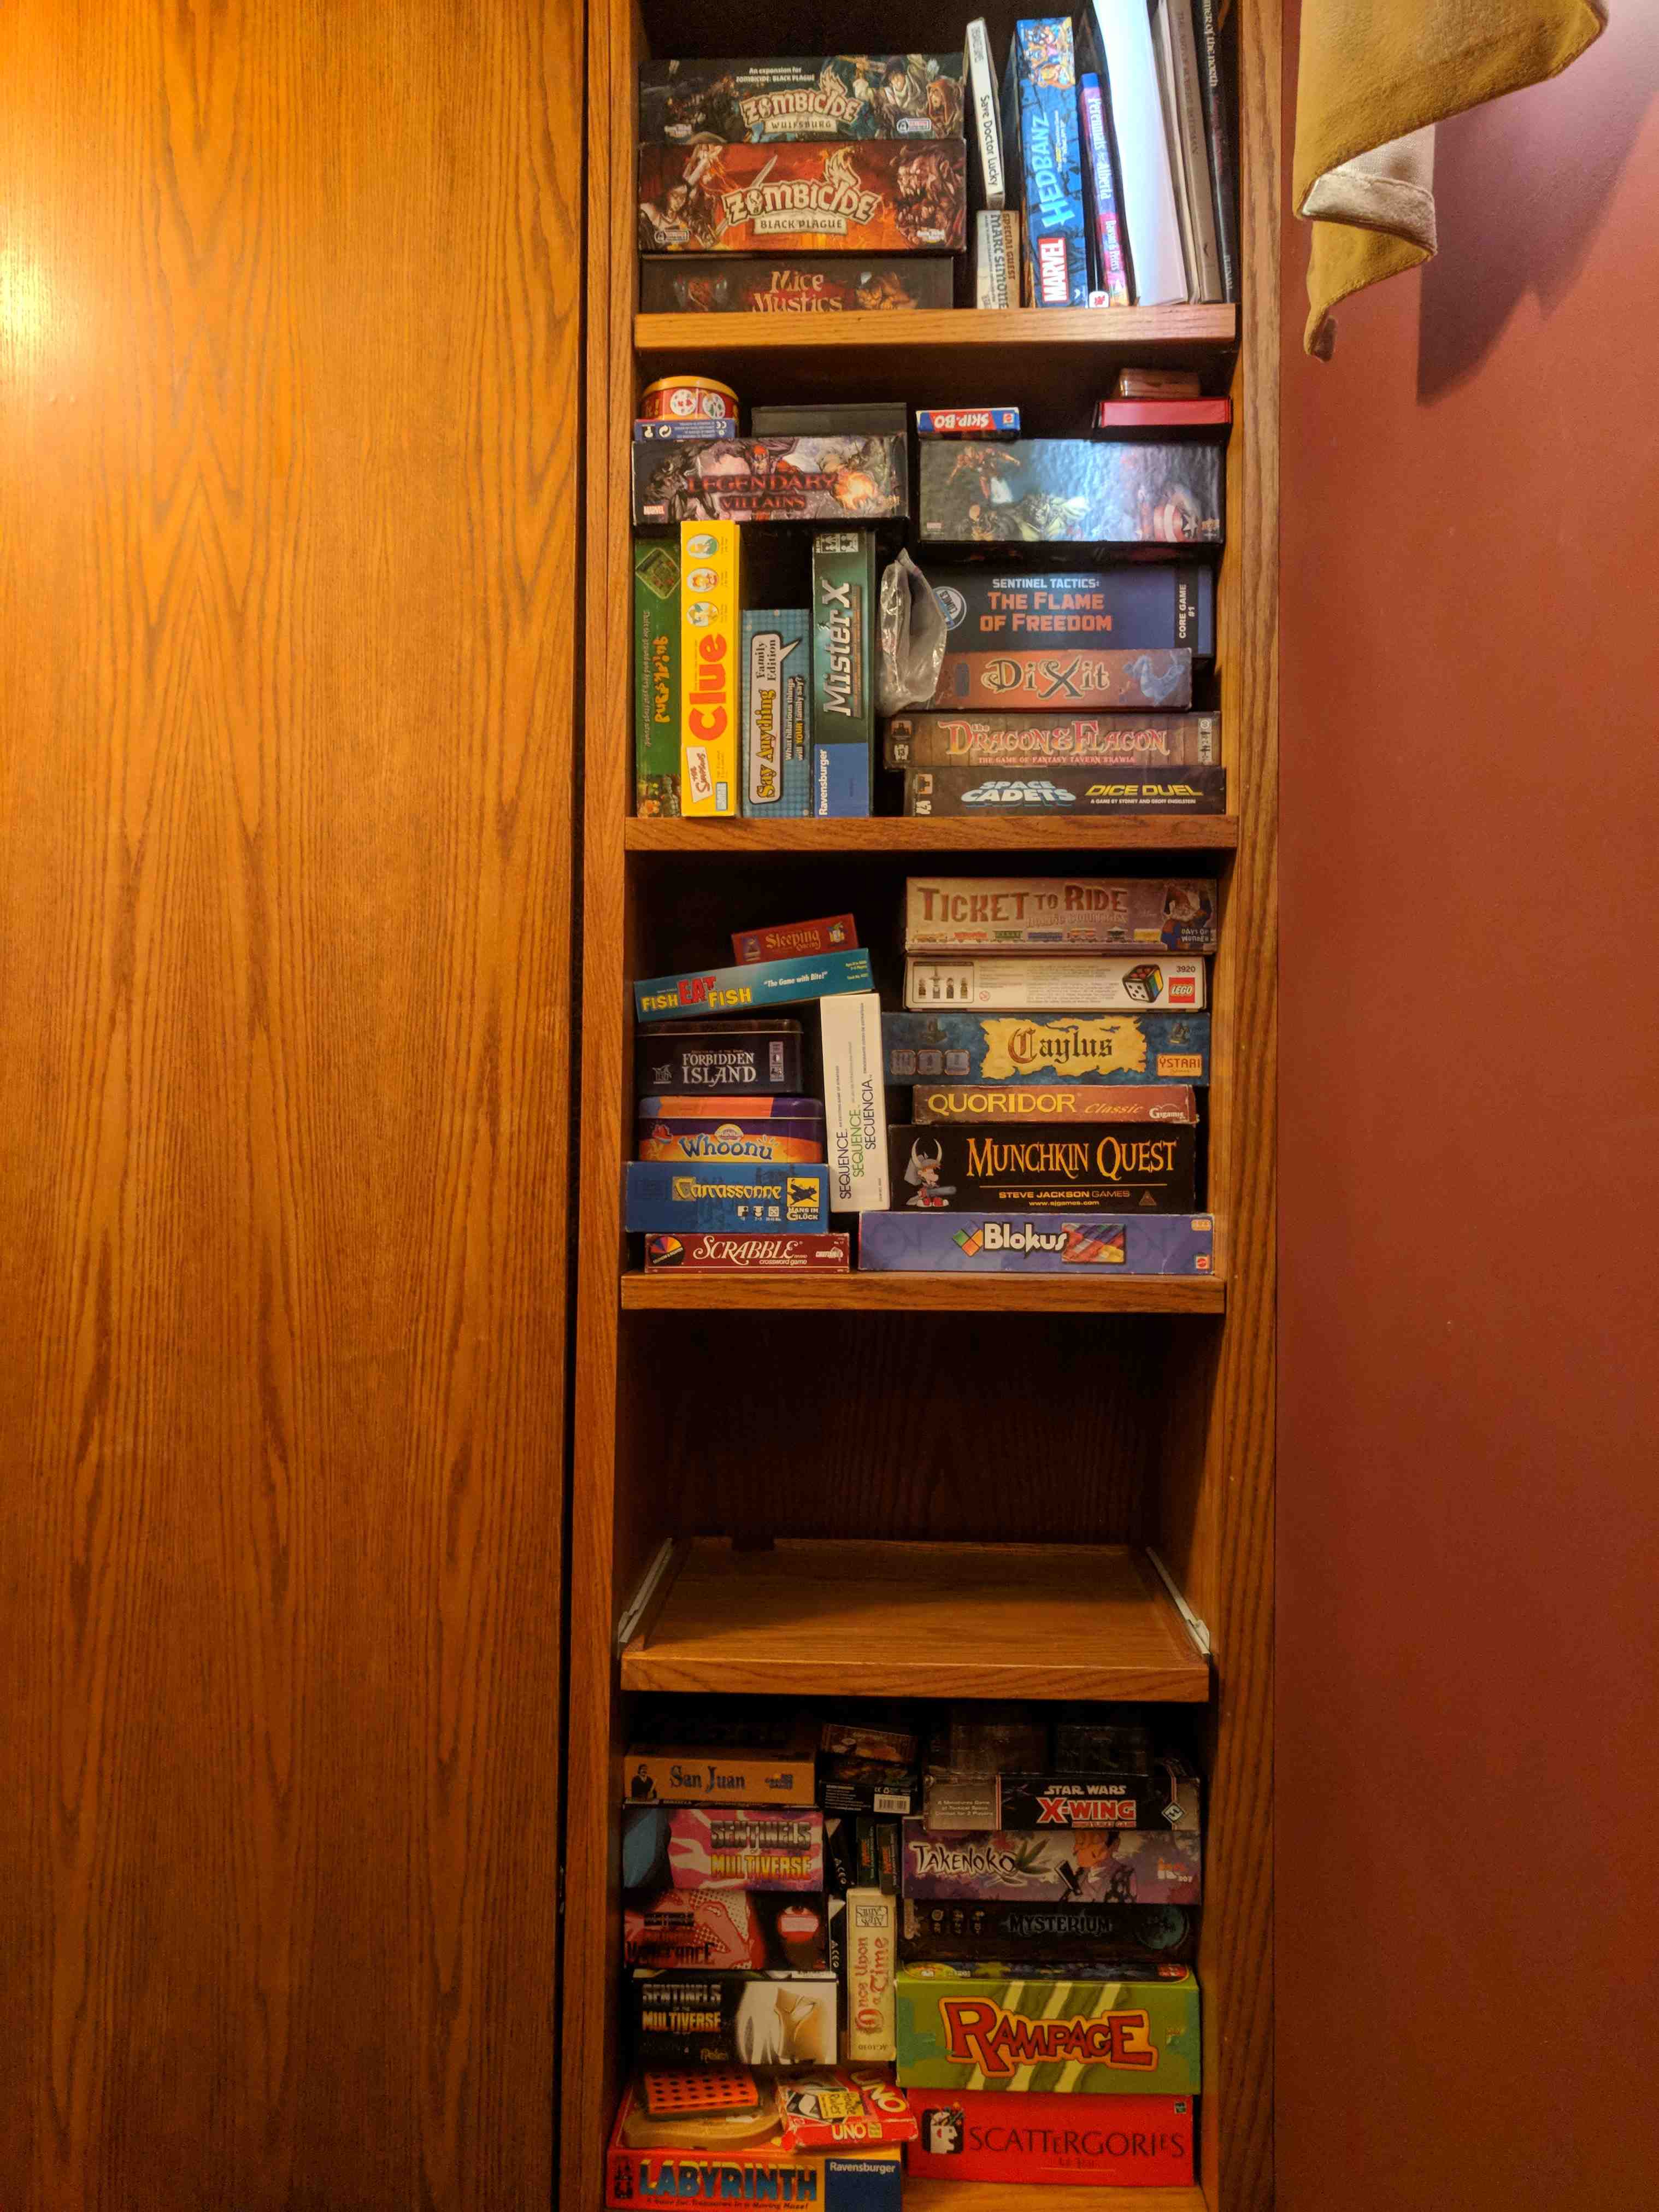
 No commute because I’m lucky enough to work from my basement office.
 Had some time before dinner so my daughter and I packed up board games, old TV, and Dreamcast in the car. I have Tony Hawk Pro Skater for the Dreamcast.
 Visited with friends and neighbours. Sang happy birthday to a neighbour and ate cake. My beautiful wife dropped in for a bit as well which always makes me smile.