
A working example can be found here in the Saturday MP Examples GitHub.
First thing you need to do is create a basic Rails app as outlined in my previous post. My setup is the same as creating Rails app: Ubuntu 18.04 LTS host using Docker to containerize my development environment.
Once your basic Rails app is up and running you can add React. This example uses React-Rails. First, you need to update the Docker file to install Node JS and Yarn. Open up the DockerFile and change it so it looks like the below.
FROM ruby:2.5.3

# To install a later version of Node JS and Yarn.
RUN curl -sL https://deb.nodesource.com/setup_10.x | bash -
RUN curl -sS https://dl.yarnpkg.com/debian/pubkey.gpg | apt-key add -
RUN echo "deb https://dl.yarnpkg.com/debian/ stable main" | tee /etc/apt/sources.list.d/yarn.list

# Install the needed software.
RUN apt-get update -qq && apt-get install -y build-essential libpq-dev nodejs yarn

# Create the website folder and map the Gemfiles.
RUN mkdir /website
WORKDIR /website
COPY Gemfile /website/Gemfile
COPY Gemfile.lock /website/Gemfile.lock

# Update the bundler then install the gems.
RUN gem install bundler
RUN bundle install

# Copy our files to the website.
COPY . /website
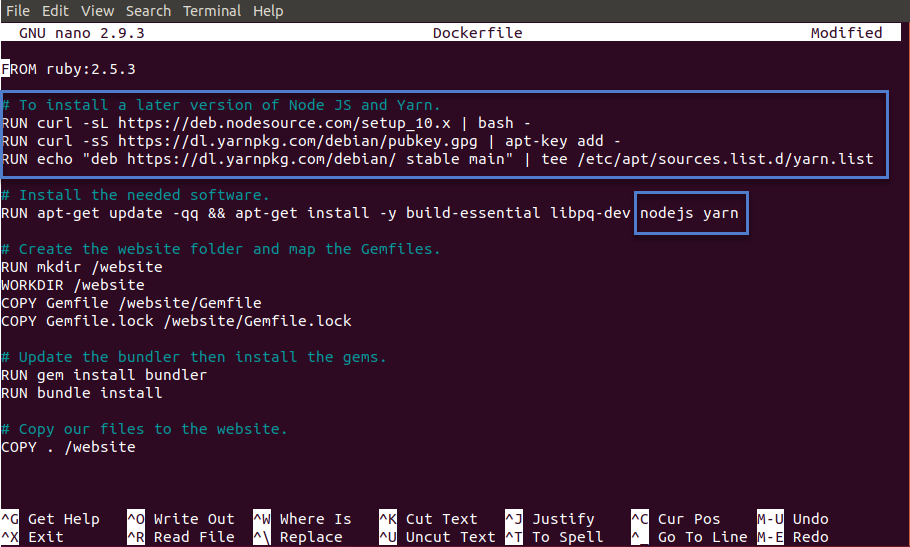
Actually only the top of the file is changed, the bottom is the same just with better layout and comments. The top we add a reference to the Node and Yarn repositories then added nodejs and yarn to the install list.
Next add the required Gems: webpacker and react-rails:
# React
gem 'webpacker'
gem 'react-rails'

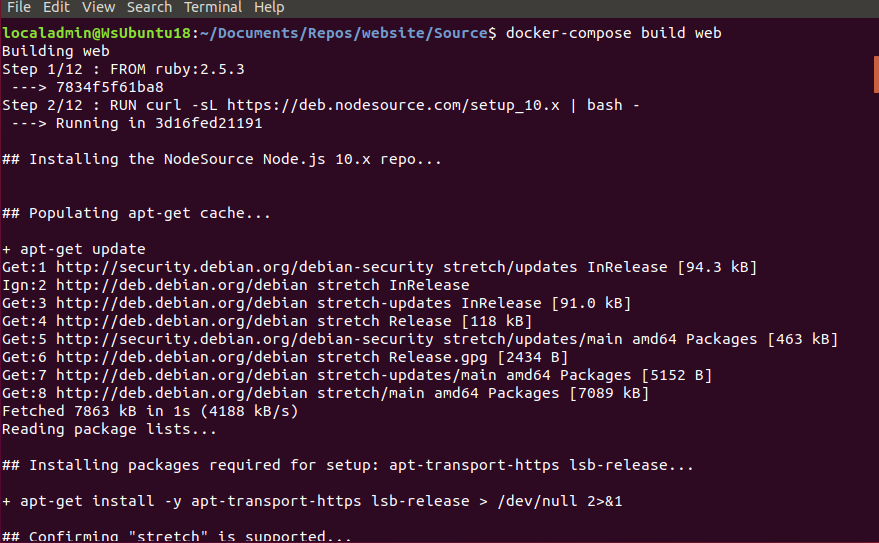
Now that the Docker and Gemfile is updated we can rebuild the container:
docker-compose build web
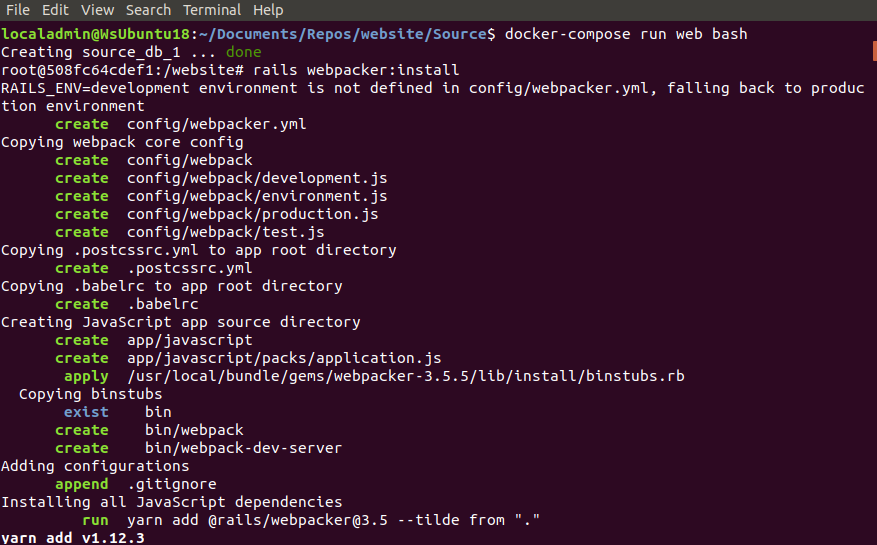
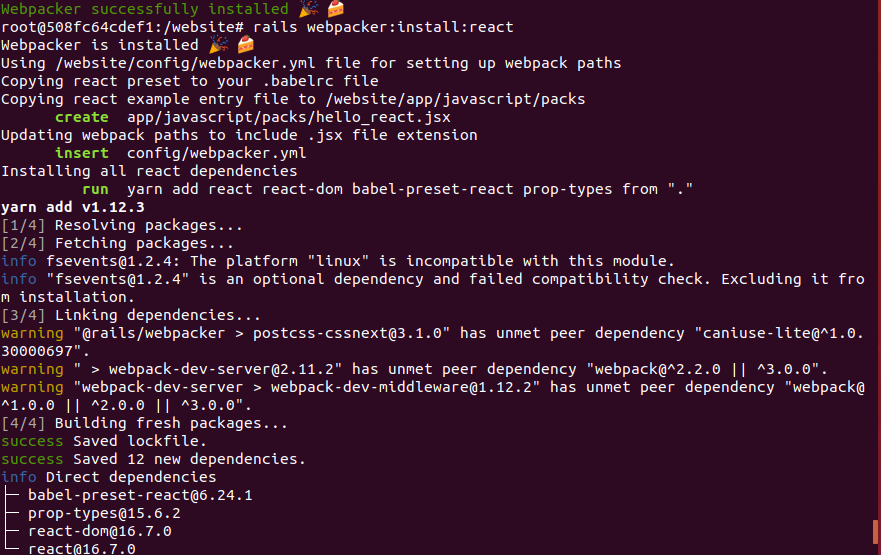
A couple final steps. Run the newly build container and run the following commands:
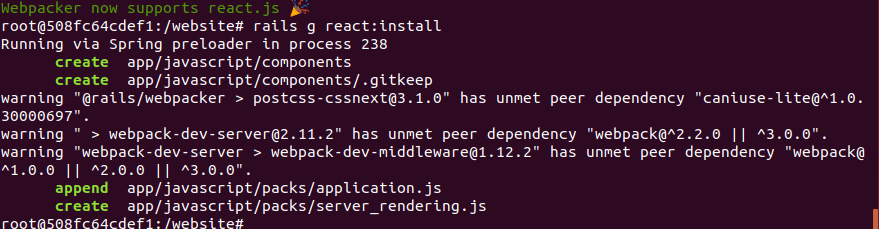
docker-compose run web bash

rails webpacker:install
rails webpacker:install:react
rails g react:install
The Rails app should be React ready. To smoke test we need a view and controller. If you already have a page in your app you can skip this step.
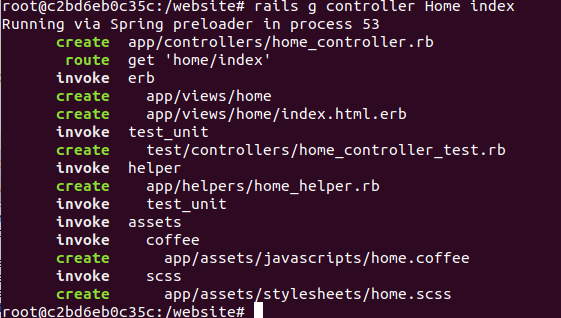
Generate the home controller by executing the following:
rails g controller Home index
Then generate a basic React component:
rails g react:component HelloWorld greeting:string

Then add the following line to the application layout file:
<%= javascript_pack_tag 'application' %>

Finally add the following line to the home view:
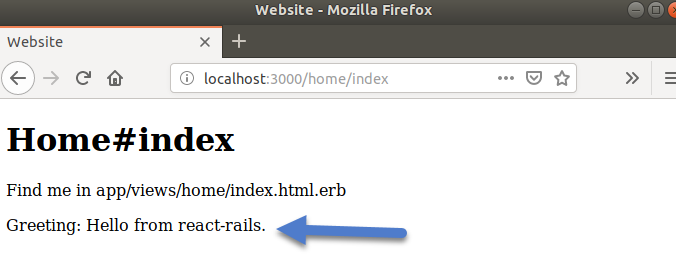
<%= react_component("HelloWorld", { greeting: "Hello from react-rails." }) %>

Now run the add and navigate to the http://localhost:3000/home/index and you should see the React message:
In memory of Walk of the Earth’s Beard Guy I present one my favourite songs Walk of the Earth songs:
You gotta hold on to what you got, babe
It ain’t always greener on the other side, you know
We ain’t rich but we’re worth a lot, babe
I wanna see the world with your hand in mine, you know